Quickly add light to hdri in Blender 2.8 with Sun Aligner plugin, to improve hdri shadows.
1. Starting with a simple testing scene: cube on the plane, and basic HDRI Environment setup. I am using Blender 2.8 build from 25 May 2019.
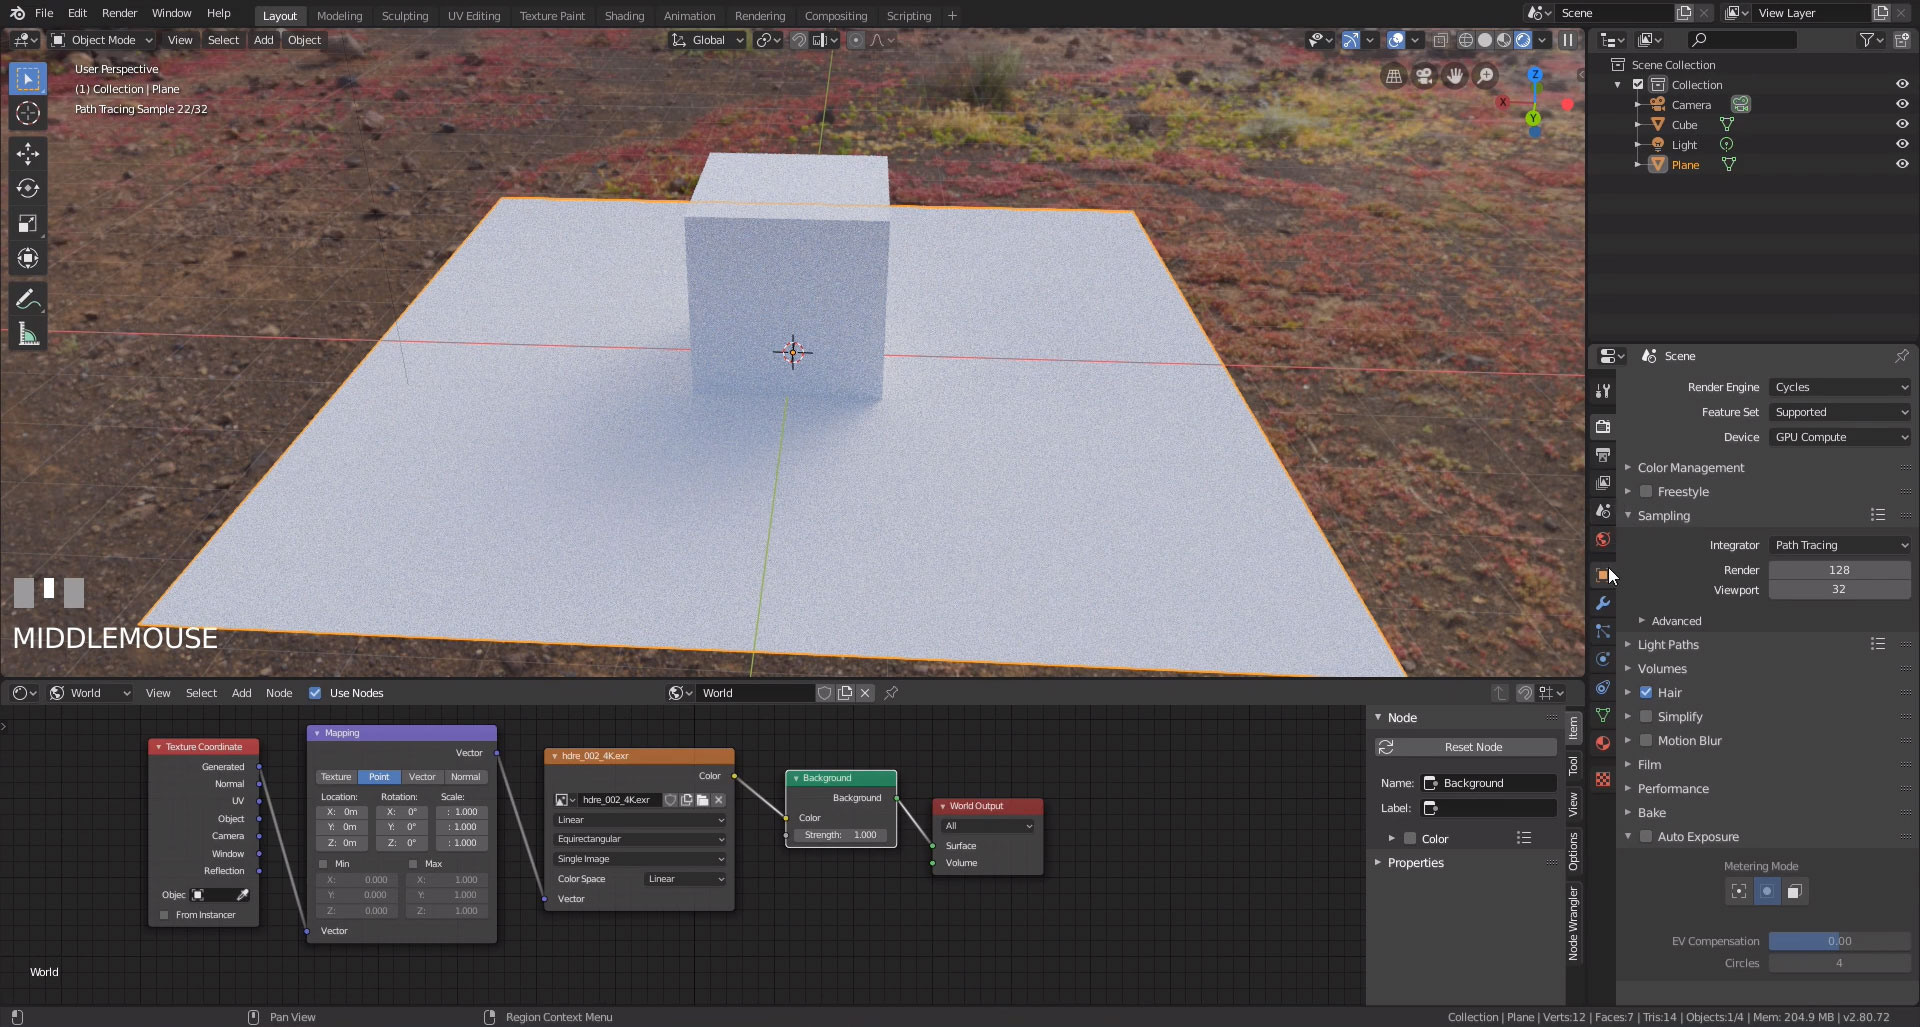
2. Select plane and in Object > Visibility check Shadow Catcher. For Cube create some metallic material, and select once again Plane object and in Object > Visibility > Ray Visibility uncheck Glossy, so Shadow Catcher is not visible in Cube’s reflections.
3. As you can see HDRI is not producing strong shadows. To fix it we should add CG light and place it in the position of the sun visible on the hdri map.
4. To make it easier we will use free add-on for this HDRI Sun Aligner by Åke Johansson, you can download it from here
5. Install the plugin, and split your workspace so you can see 3D Viewport and on the right side Image editor.
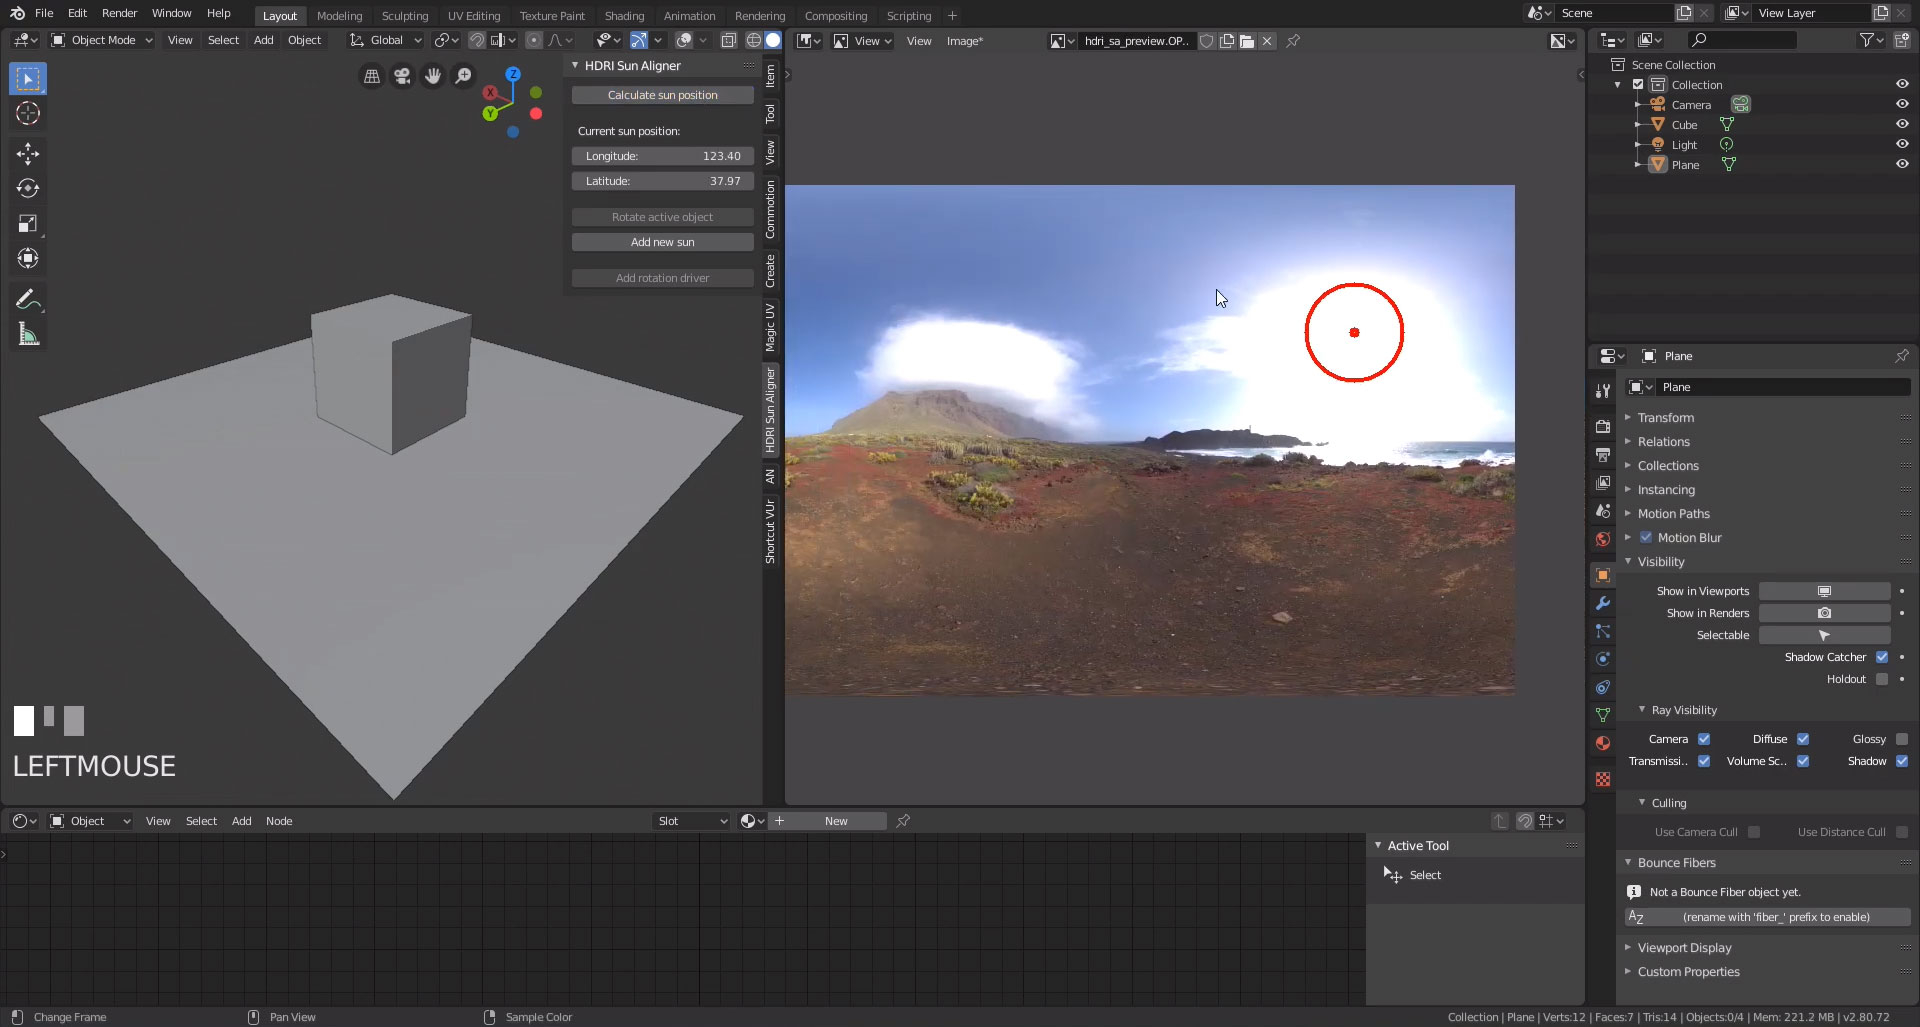
6. In image editor select hdri used for environment, and on the left click Calculate sun position in HDRI Sun Aligner. If you can’t see it press ‘N’. On hdri map in the right panel, you should see a red circle indicating that in this position sun has been detected. If it’s correct please click on Add new sun and that’s it! You should see very sharp shadows, increase HDRI Sun angle value if you want to soften shadows.