I suggest you to start to work with lower resolution hdri map because loading high-resolution texture will slow down your workflow significantly, even if you have the latest GPU and fast computer.
I always start with 8K hdri map in Cycles or even 2K map especially in the first stages of the project or while using Eevee and sculpting. As a reminder: you can download lower resolution (2K) of my paid hdri maps for free from https://hdrmaps.com/hdris and https://hdrmaps.com/hdri-skies
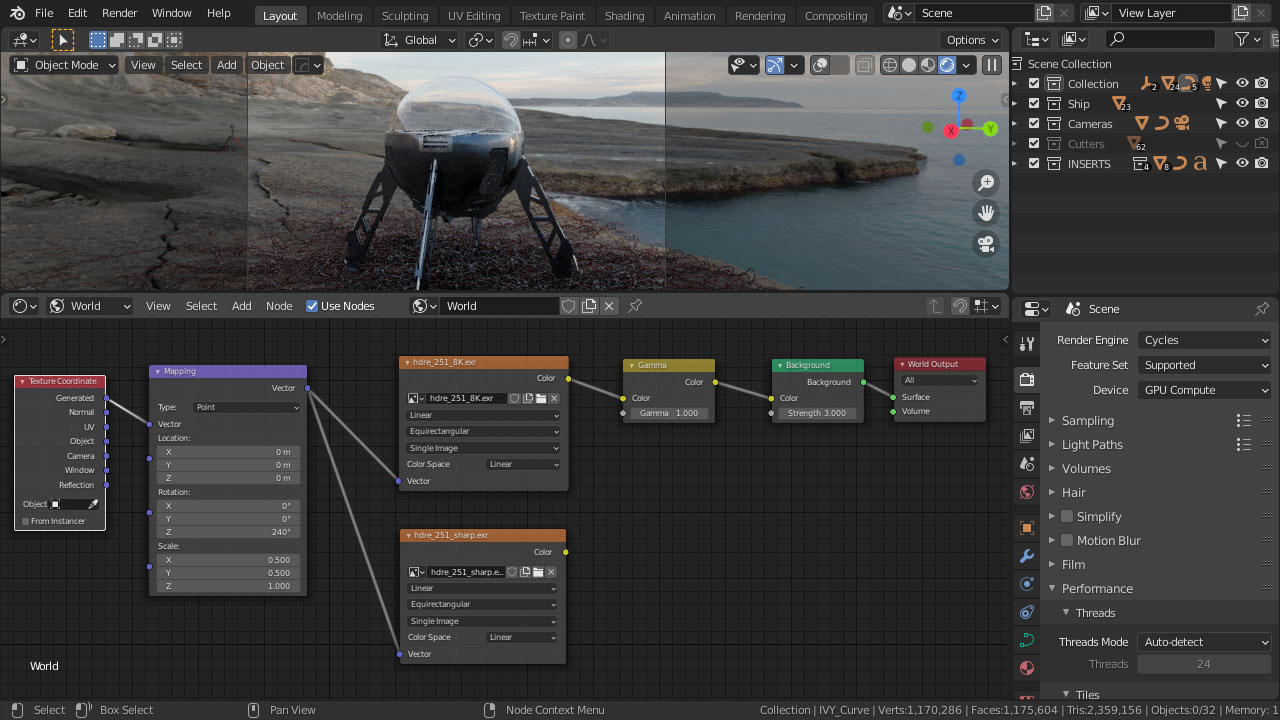
In a typical workflow, I setup scene with 8K hdri map, and I am rendering preview renders using GPU in Cycles. I suggest increasing Performance > Tiles values to x=320px, y=320px or even more. Create quicky few renders, and when you are happy with results and ready for final rendering do the following:
- switch to CPU and in Performance decrease Tiles values to 64px or even 32px
- turn off Cycles preview
- load 20K hdri map texture to separate node and connect it to the existing node setup
- hit render
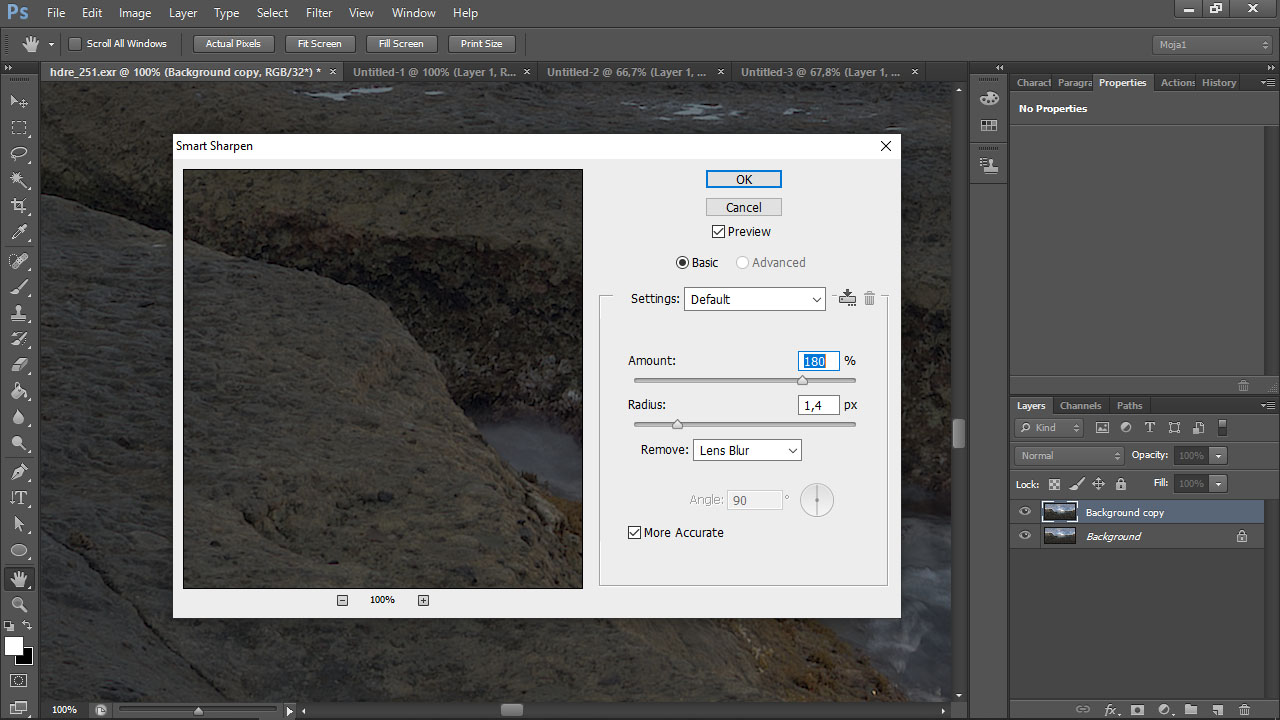
Sharpen hdri map
Some of hdri maps are not sharpen in post production as this process can’t be undone. When your 20K hdri map looks blurry, please follow these steps in Photoshop:
- Open hdri map in Photoshop skip opening prompt window by pressing OK.
- Zoom to 100% with shortcut CTRL+ALT+0
- Duplicate layer
- Apply Smart Sharpen, please choose settings that match your needs, in my case Amount: 180%, Radius 1,4px, Remove Lens Blur, More Accurate
- Add mask to layer and mask out with black colour brush, areas where sun and other lights are visible
- Merge down all layers and save it as a new .exr file with Wavelet/PIZ or Zip compression