Otoy – a company behind Octane Render, provides a fully working, free version of the renderer for Blender, Unreal Engine, and Daz Studio. Free Prime edition is free for use on a single GPU. License is valid for 30 days, for private and commercial work. After 30 days you’ll need to activate it using new email.
In this short tutorial, you will learn, how to download, install and use a free version of Octane Render Prime for Blender.
Download and install Octane Render Prime for Blender.
- Register a new account, if you already don’t have one, at Otoy’s website – OTOY Account
- Sign up for OctaneServer Prime (Free Trier) here – click on the red button “Try now”
- Download and install Octane Render Prime for Blender and OctaneServer Prime from here: OctaneRender™ Prime Free Tier – Application completed • OTOY. When downloading files, you will get a browser warning, saying that files are not safe, you need to skip it and allow the browser to save it to your hard drive. Windows and macOS will block non-signed installers, you need to allow it to run nevertheless.
- Run OctaneServer Prime and log in using your account credentials provided in #1. Activate it. If you can’t find it, the app is running hidden in the Windows system tray
- Run Blender Octane Edition installed at #2
At the time of writing, I am using version 2020.2.3.23.8 stable, updated at 2021-06-10, which comes with Blender 2.92. Please keep in mind that, although Blender Octane Edition is a separate program, it will import all your settings and add-ons installed previously for Blender 2.92
Running app – initial setup
To run Blender Octane Edition, you’d need to have Octane Server Prime with an activated license running in the background. There are some things you need to set up first and save as a Startup File.
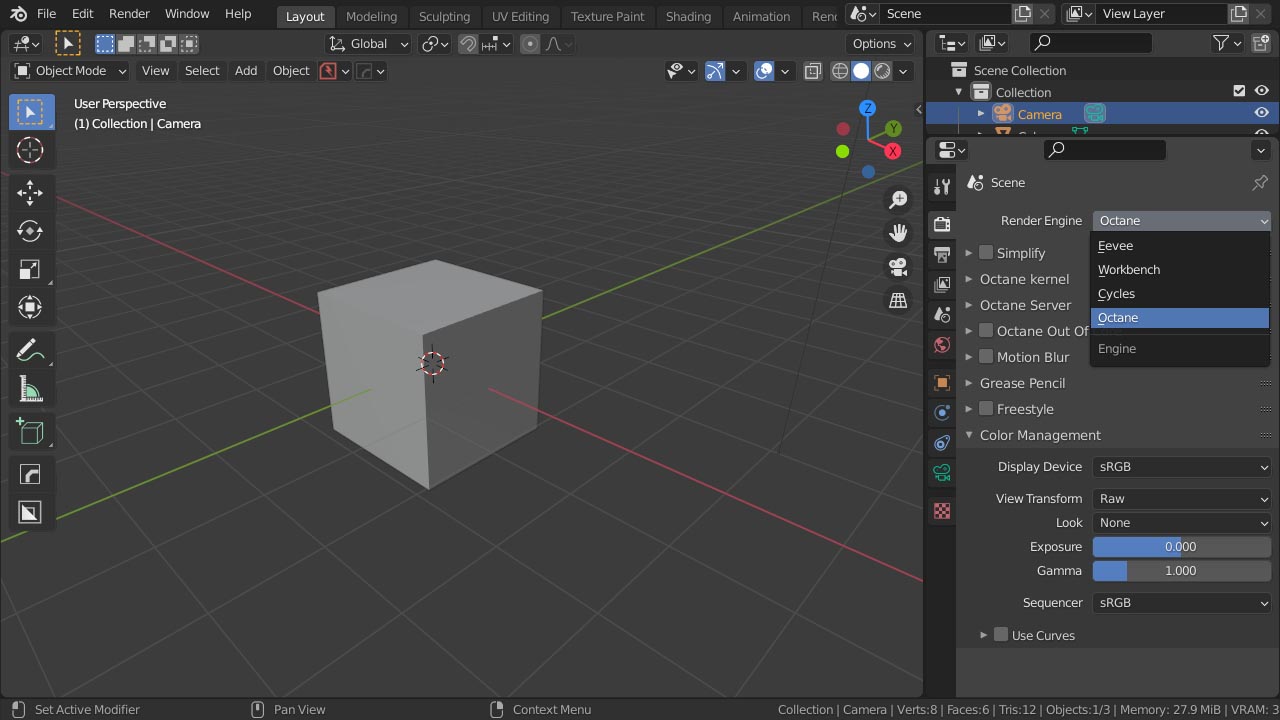
- In Blender’s Render Properties panel, switch rendering engine to Octane
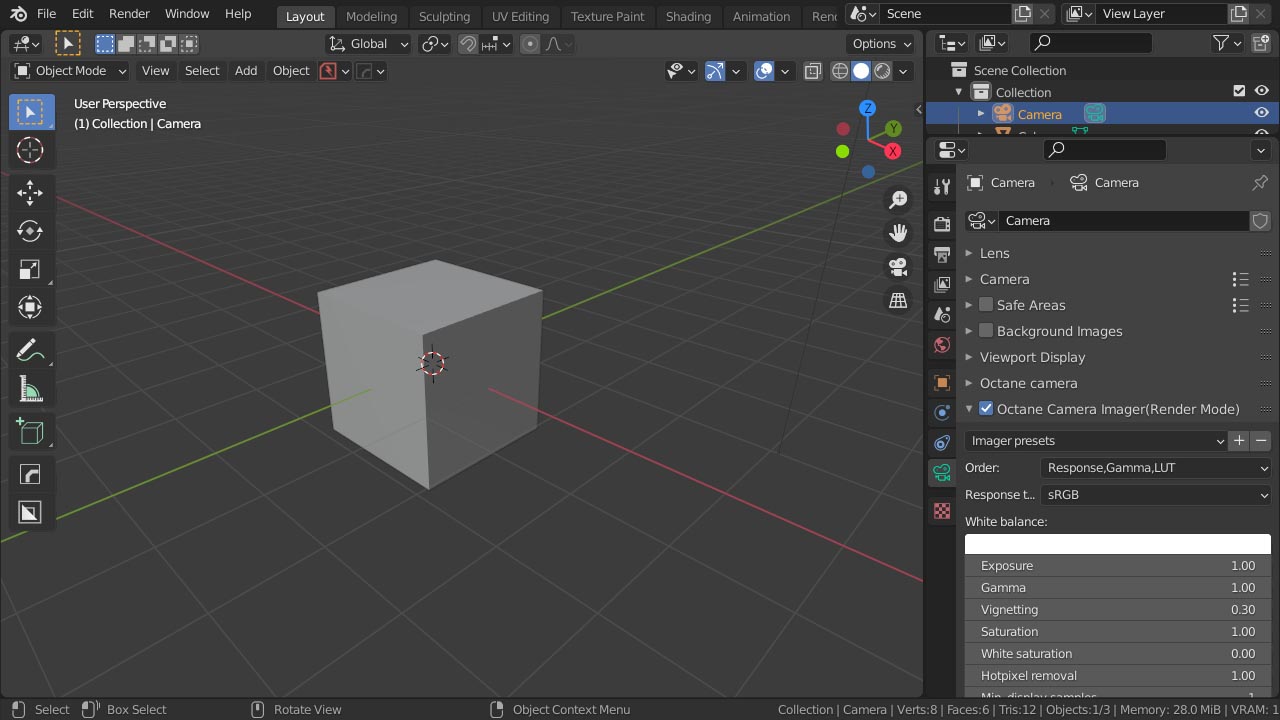
- Now let’s fix gamma viewport problem. Select Camera and activate Octane Camera Imager. In response type select sRGB. In Render Properties > Color Management > View Transform set it to RAW. Gamma should be 1.00.
- You are ready to go. Save preferences, so next time you open Blender Octane Edition, you won’t need to repeat those steps. To save the startup file, go to File > Defaults > Save Startup File
You can now switch to Viewport Shading to activate Octane Render preview. As there is no material added to the default cube and lighting is Daylight Environment by default, rendering is quite boring. So let’s set up texture lighting with HDRI Map.
Setting up HDRI Map
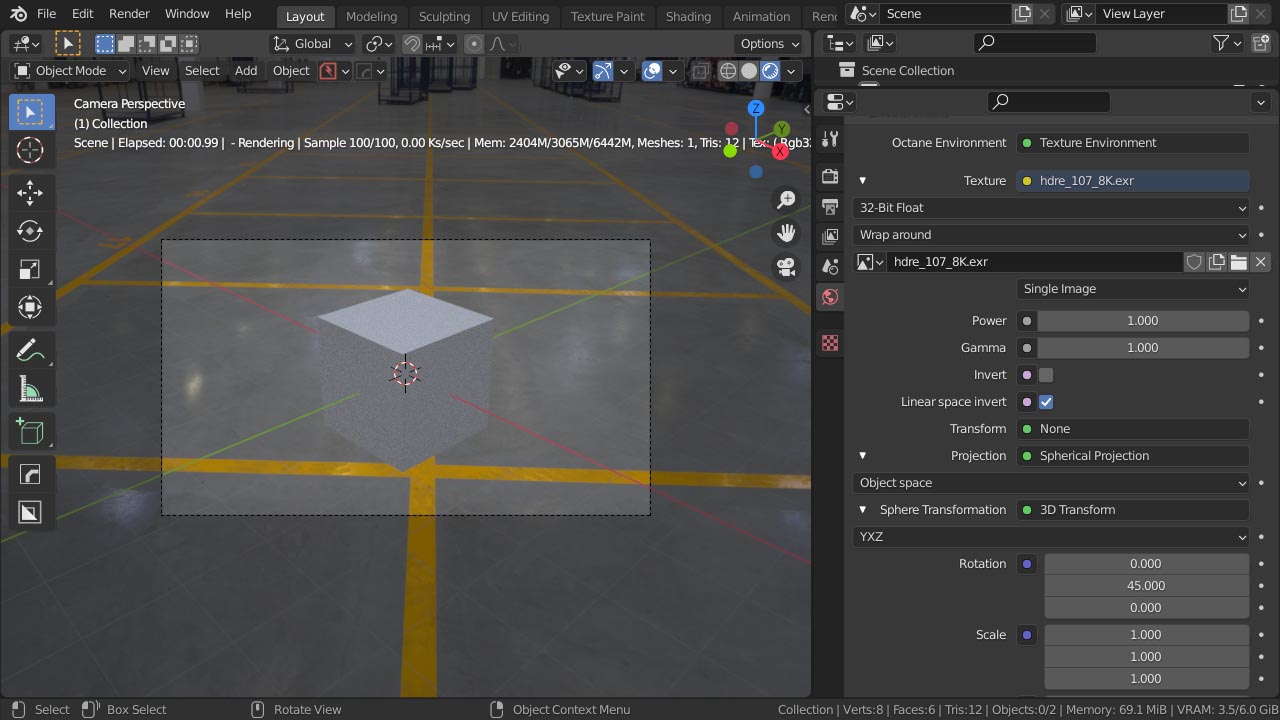
- Go to World Properties > Environment > Octane Environment and select Texture Environment
- In the Texture slot below, click on a yellow dot located on the left to show options. Select Image Tex and set it to 32-Bit float. Open hdri map (click to download some free hdri) and set its Gamma to 1.0
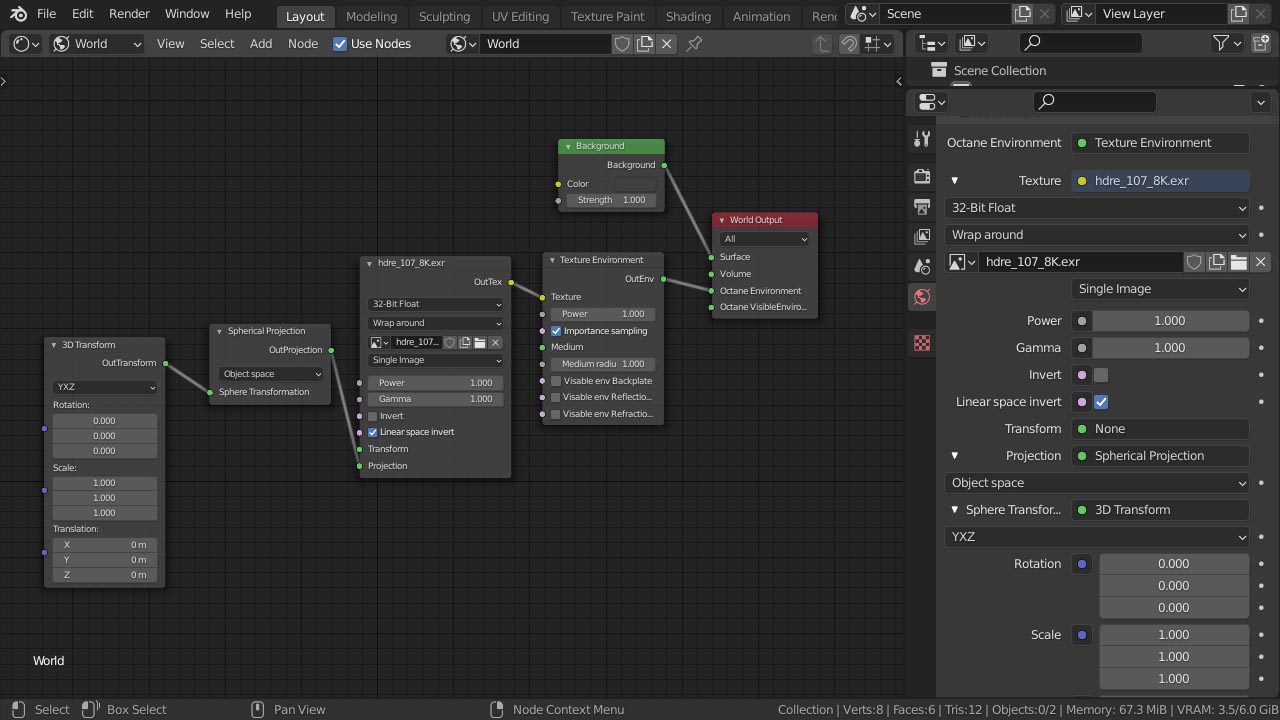
- To be able to rotate and scale HDRI Environment you need to set Projection to Spherical Projection and Sphere Transformation to 3D Transform. To rotate around use X-axis rotation (when YXZ is selected)
- When you switch Blender’s context to Shader Editor (Shift + F3) and World, you will see Octane Nodes setup for hdri. Texture Environment node has 3 separate inserts for backplate, reflection and refraction textures, which can be used as needed.
Octane and Shadow Catcher
Creating Shadow Catcher in Octane is quite easy to set up.
- Add plane under cube and scale it up so it will gather all shadow.
- Add new Material and for the Surface select Diffuse Material, or if you prefer to do it in the node editor, simply add Diffuse Material from Octane Shaders.
- Mark Shadow catcher option in material properties.

As creating Octane Materials is a very extensive topic, it won’t be covered here. You can find everything you need at Otoy’s official documentation website. You can test some nice materials directly from Octane DB which works fantastically along with Blender.
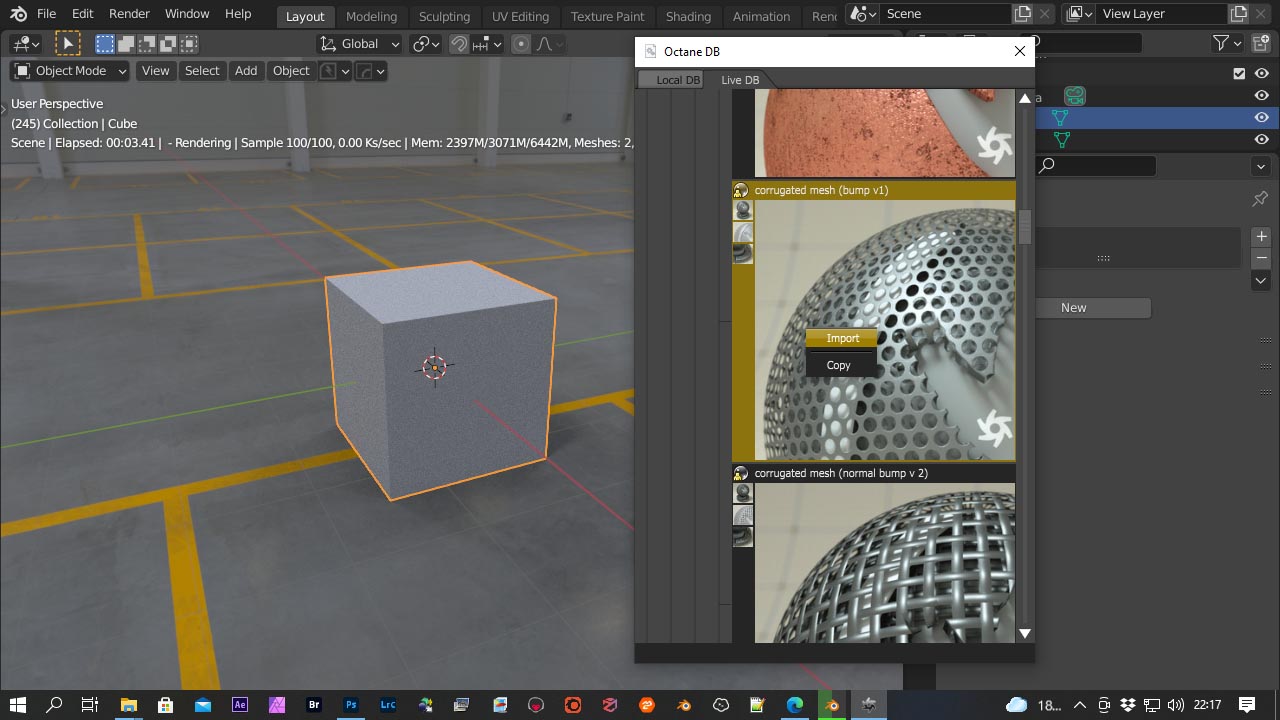
Octane DB – free downloadable materials database
Octane materials database can be activated from the upper menu of Blender: Window > Octane DB. Please give it some time to load before you start to browse online materials. To apply material first select geometry then right-click on the material and choose Import