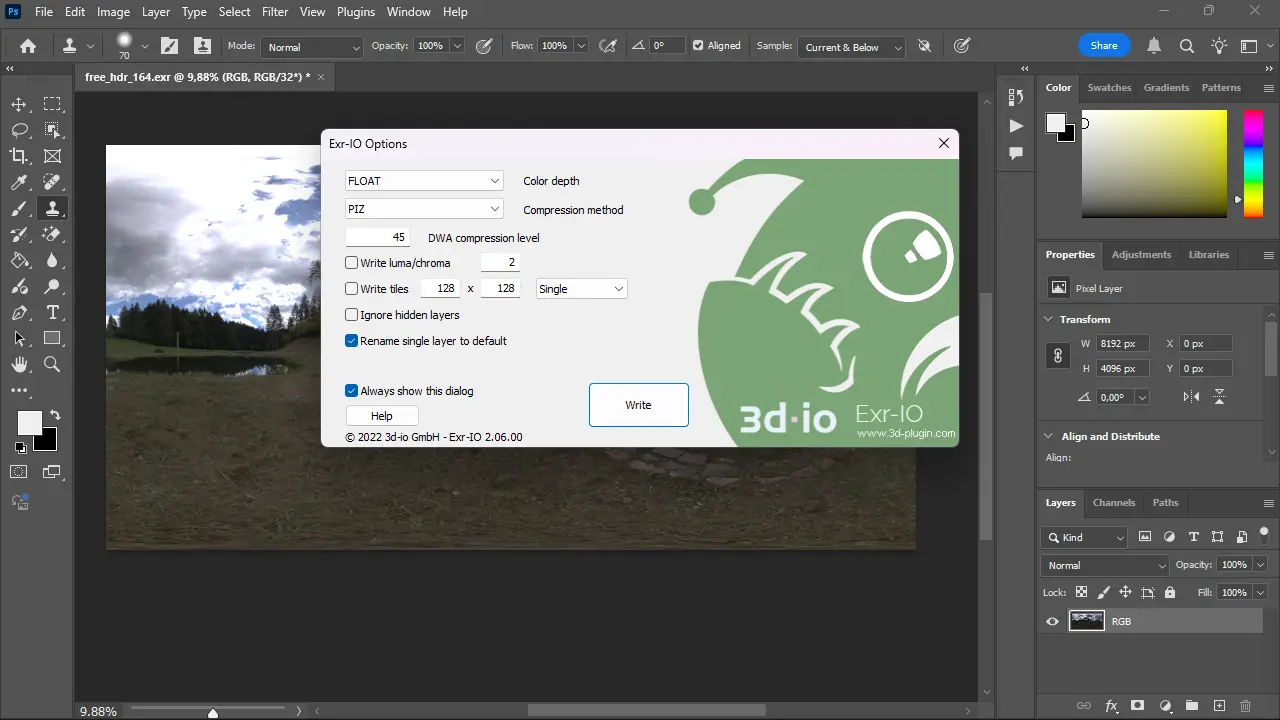
Before working with 32-bit OpenEXR files in Photoshop, you need to install a free plugin called Exr-IO, as Photoshop cannot save .exr files in 32-bit float format. Although Adobe claims that Photoshop supports 32-bit OpenEXR, this is not entirely true. I contacted Adobe support to inform them that they should not mislead users and should fix this issue, but so far, nothing has changed.
To patch the nadir or zenith of your spherical HDRI map (or any equirectangular projection panorama) directly in Photoshop, you need to install a paid plugin called Flexify 2 by Flaming Pear Software. It costs around $50 and is totally worth the investment. Before purchasing the plugin, I suggest downloading and using the free trial version, which works without limitations for many days.
Steps to Patch the Nadir Using Flexify 2
Prepare Your HDRI Map
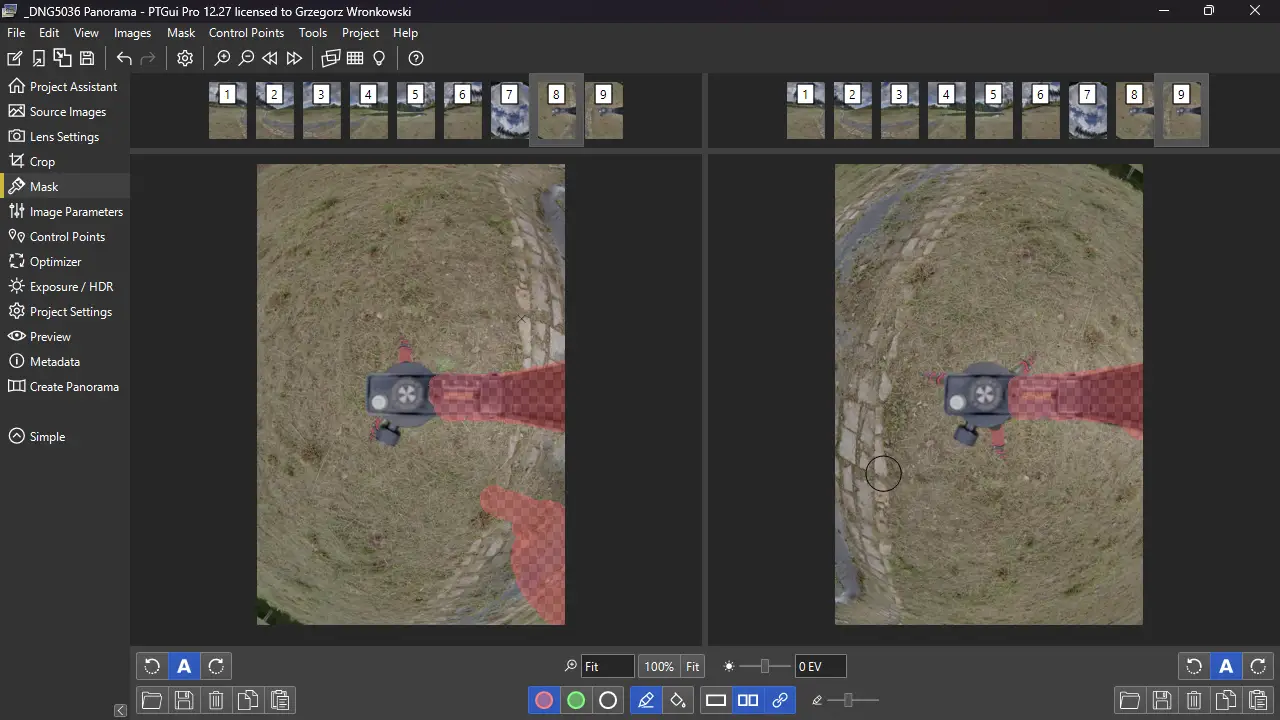
Before getting started, ensure that your HDRI map is properly masked before exporting from PTGui. In the image below, I masked two captured nadir shots, removing the panoramic head extension arm and my own leg.
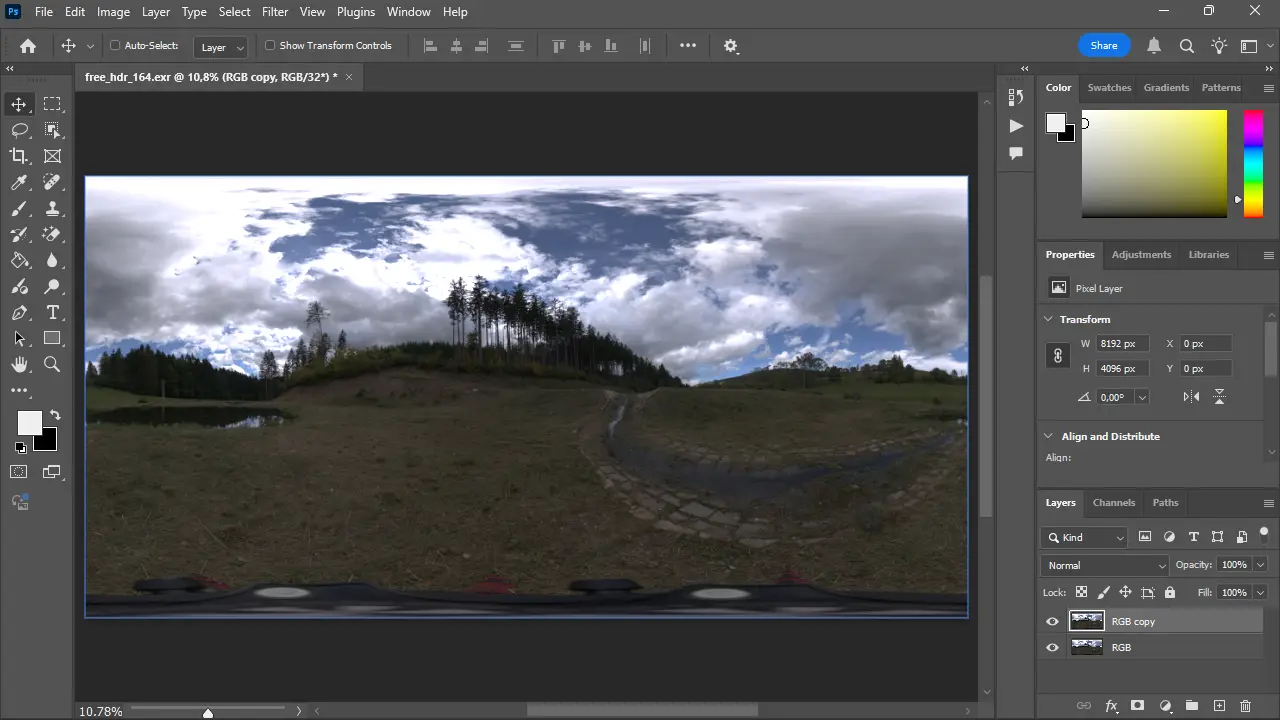
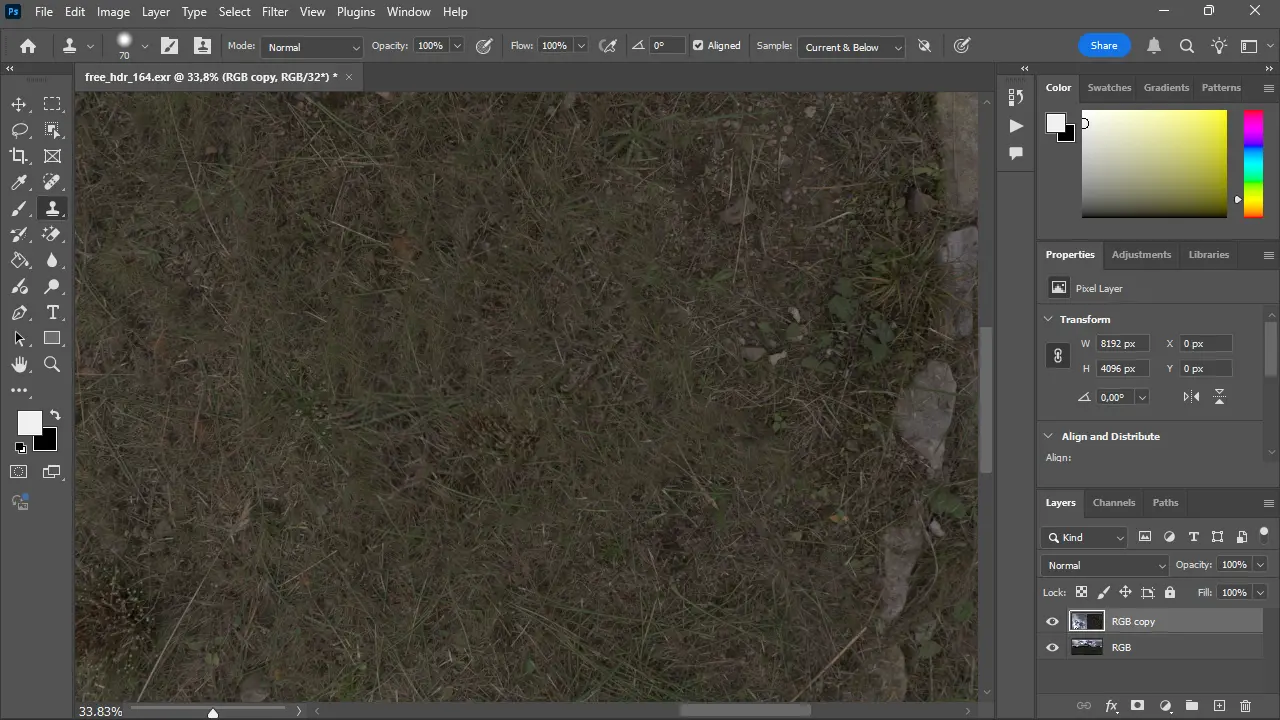
Open the HDRI Panorama in Photoshop
- Open your HDRI panorama in Photoshop.
- Duplicate the layer (CTRL + J).
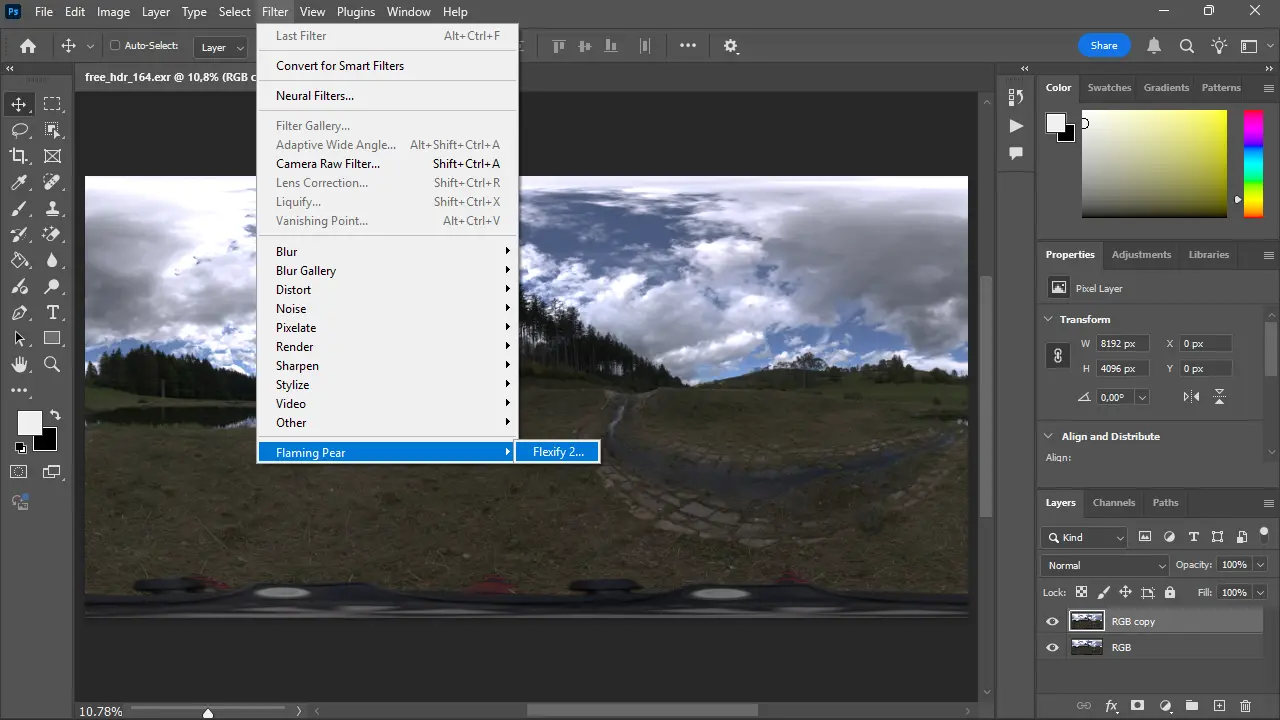
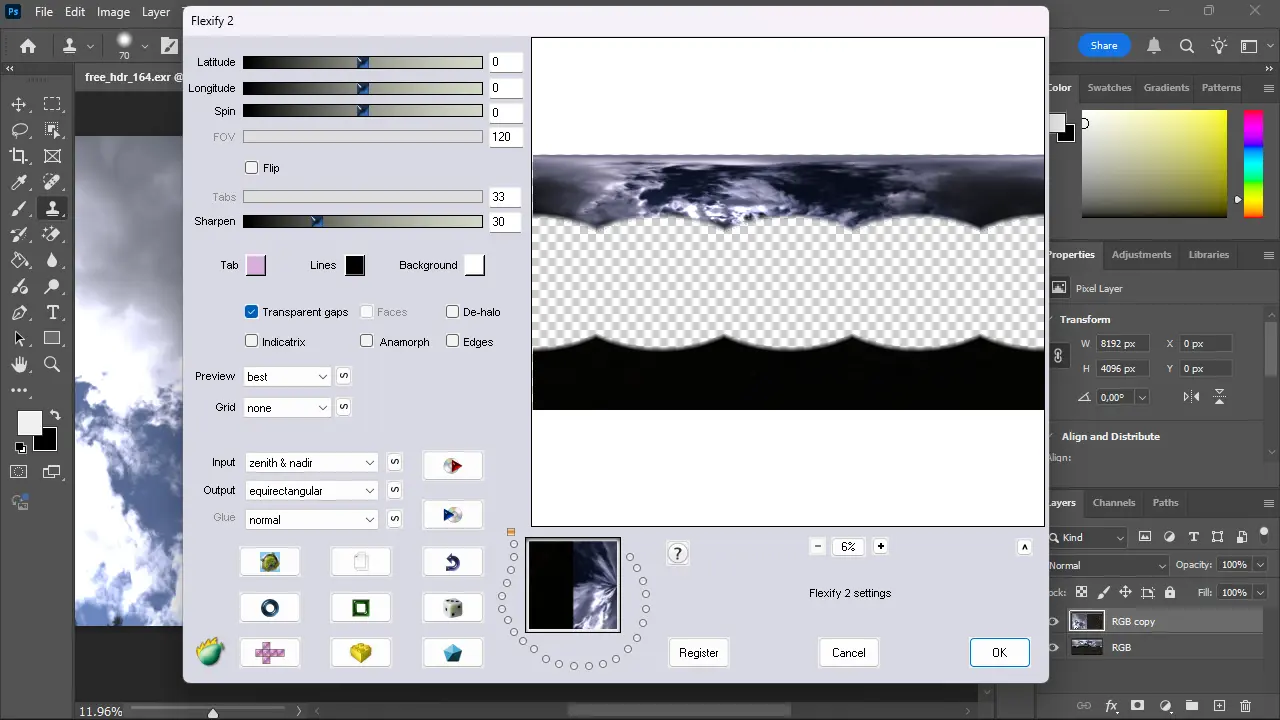
Open Flexify 2
- Select the duplicated layer.
- Open Flexify 2: Go to Filter > Flaming Pear > Flexify 2.
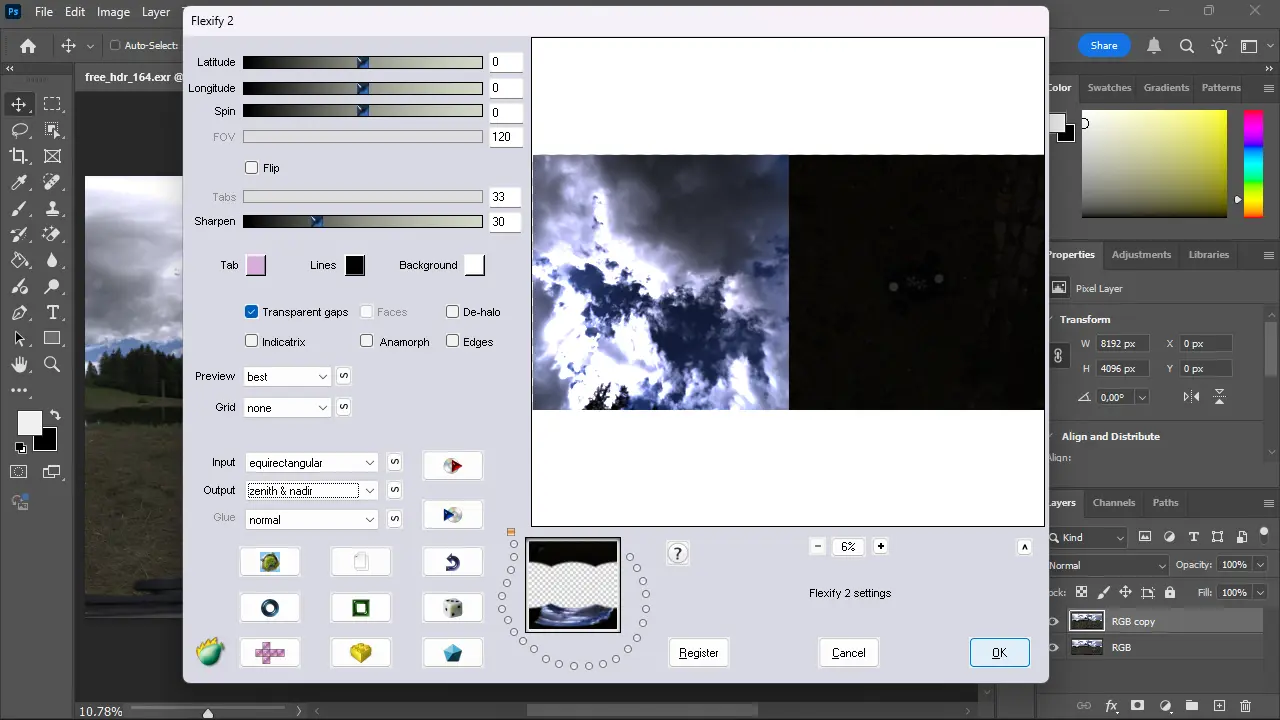
Adjust Flexify 2 Settings
- Set Input type to Equirectangular.
- Set Output type to Zenith & Nadir (press Z twice to find it among the available transformations).
- Click OK.
- Tip: When working with large HDRI files, the preview window in Flexify 2 can slow down your workflow. To avoid this, I recommend recording the process as a Photoshop action. This way, you can apply the transformation automatically next time without opening the Flexify 2 window.
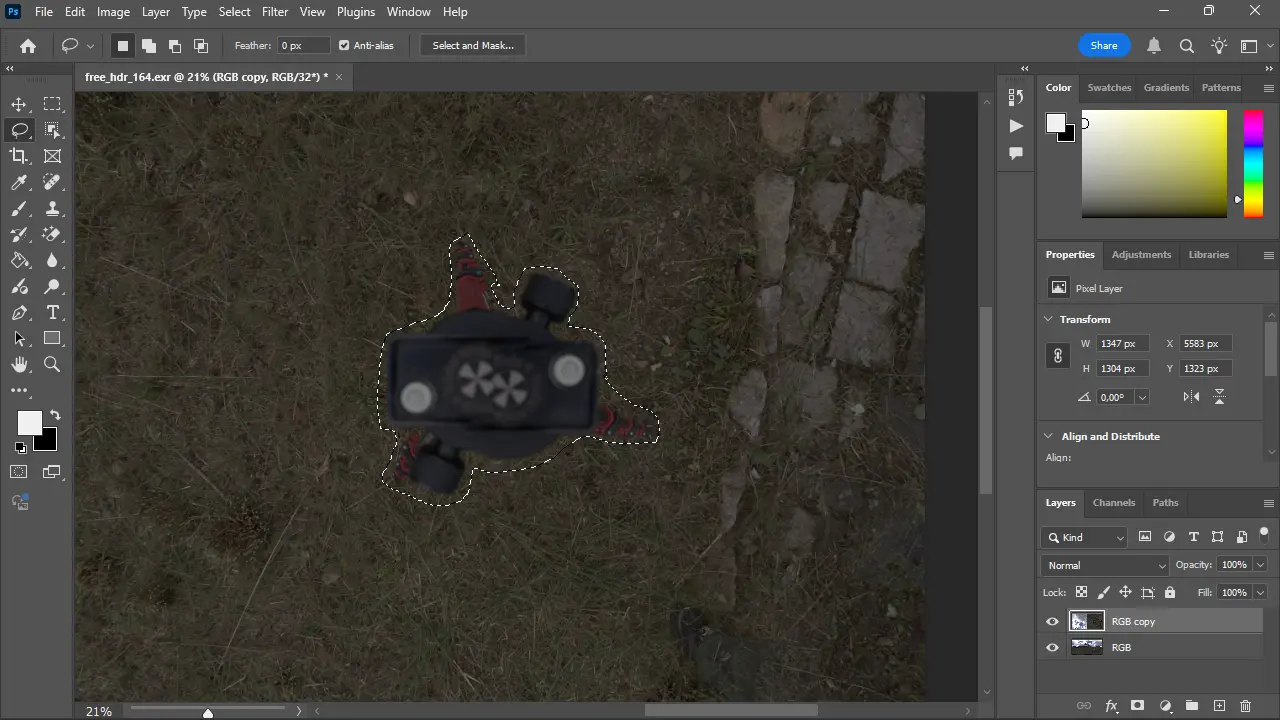
Select the Tripod or Empty Area
- Use Photoshop’s Lasso Tool to select the empty area created by masking in PTGui.
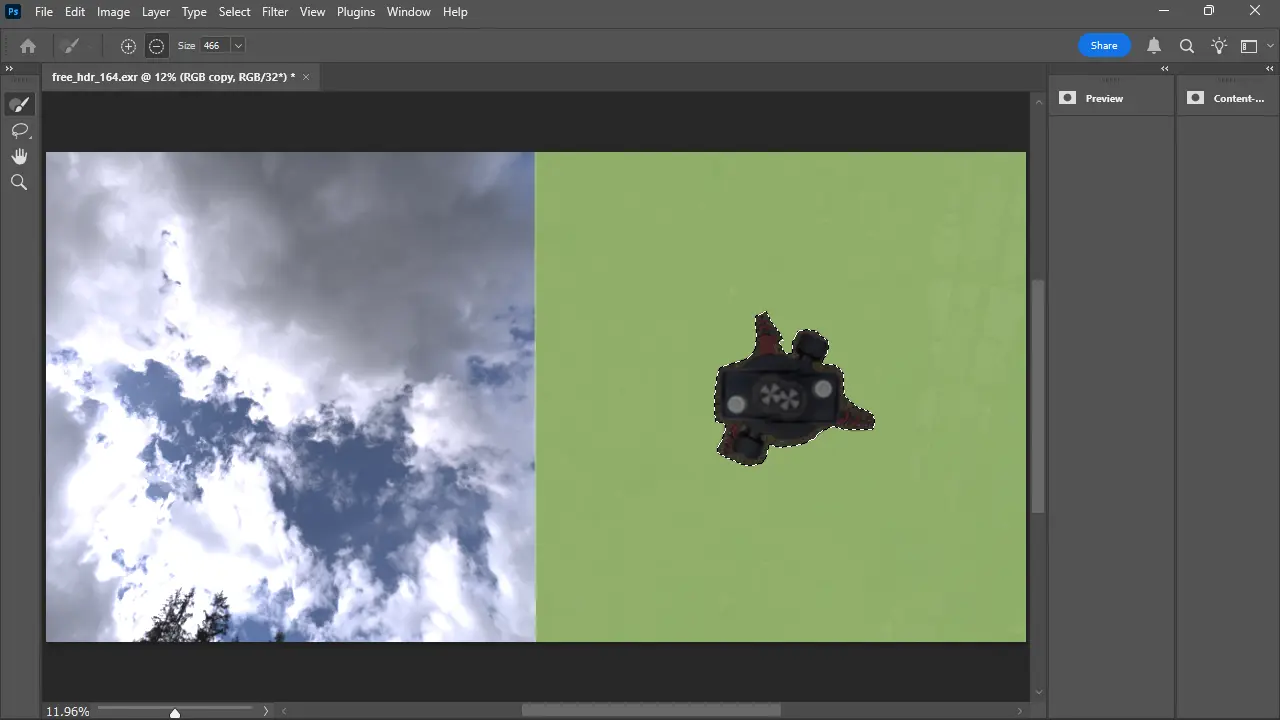
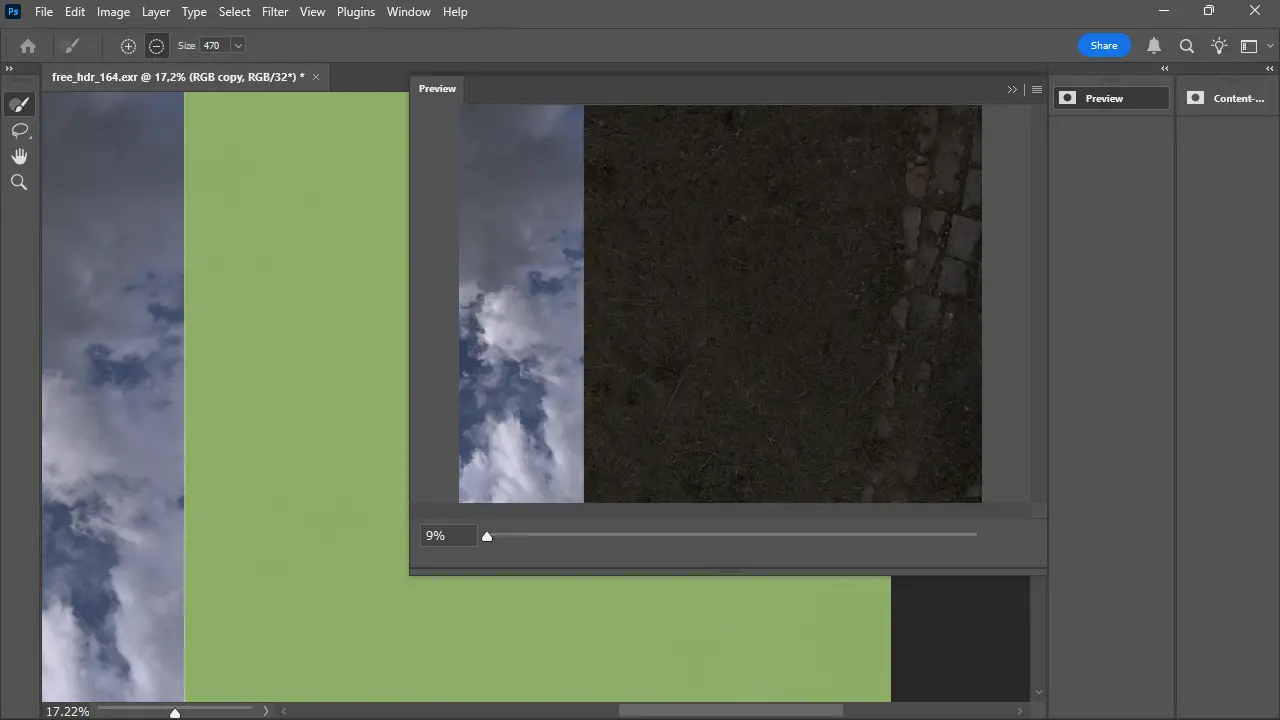
Content-Aware Fill window
- Go to Edit > Content-Aware Fill. A new window will appear.
- Warning: The Content-Aware Fill method may not work well on complex patterned floors. In such cases, use the Clone Stamp Tool instead. However, for more generic surfaces like grass, sand, asphalt, snow, or soil, Content-Aware Fill usually works fine.
- The green area in the preview represents the region from which Photoshop will sample to fill the selection. Adjust it as needed using the “Add to Overlay Area” or “Subtract from Overlay Area” brush.
Adjust Content-Aware Fill Settings
- Expand the Content-Aware Fill panel.
- In Fill Settings, set Color Adaptation to None.
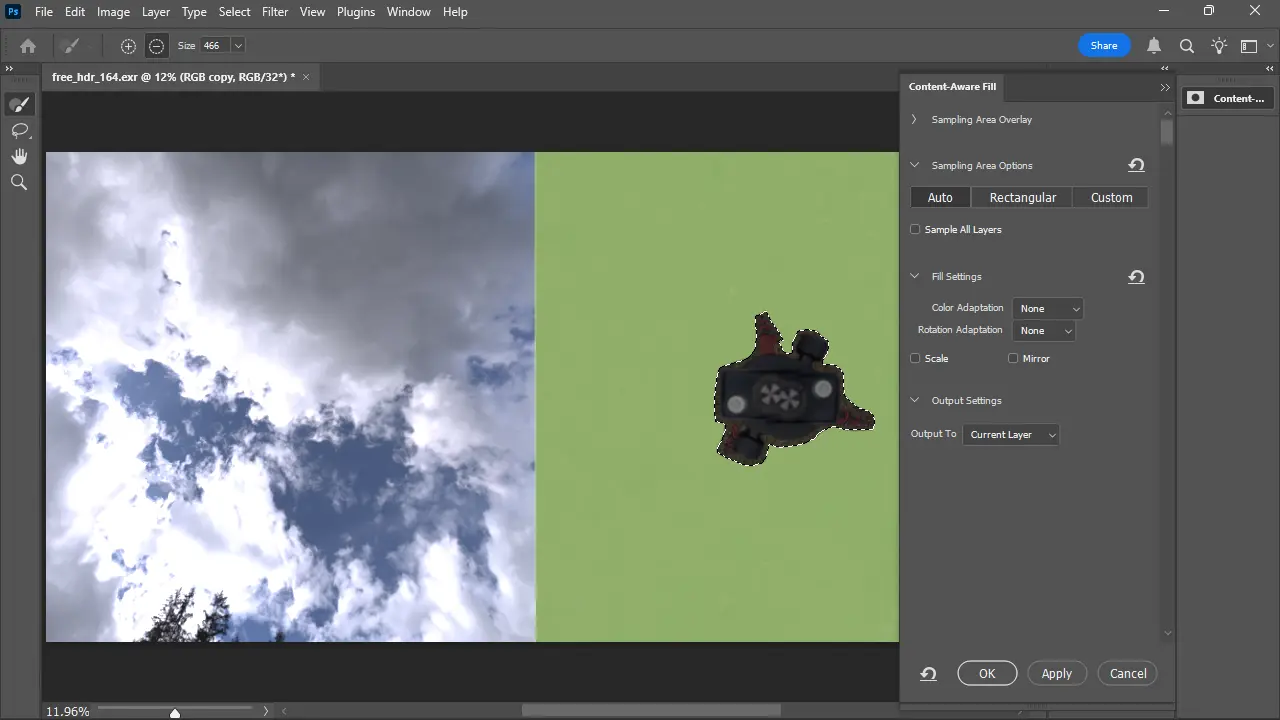
Preview and Apply the Fill
- Expand the Preview window to better assess the results.
- If you are satisfied with the result, ensure Output is set to Current Layer, then click OK.
- If the result is unsatisfactory, adjust the overlay area and try again.
Refine the Patch
- Content-Aware Fill will generate the patch in a few seconds. While it does a decent job, it is not perfect.
- Use the Clone Stamp Tool to fix any blurred or imperfect areas.
Convert Back to Equirectangular Projection
- Once the nadir patching is complete, open Flexify 2 again and convert the patched layer back to Equirectangular Projection.
Merge and Save the Final Image
- Merge the patched layer with the base layer (CTRL + E).
- Save the final image as a 32-bit OpenEXR file using the Exr-IO plugin.