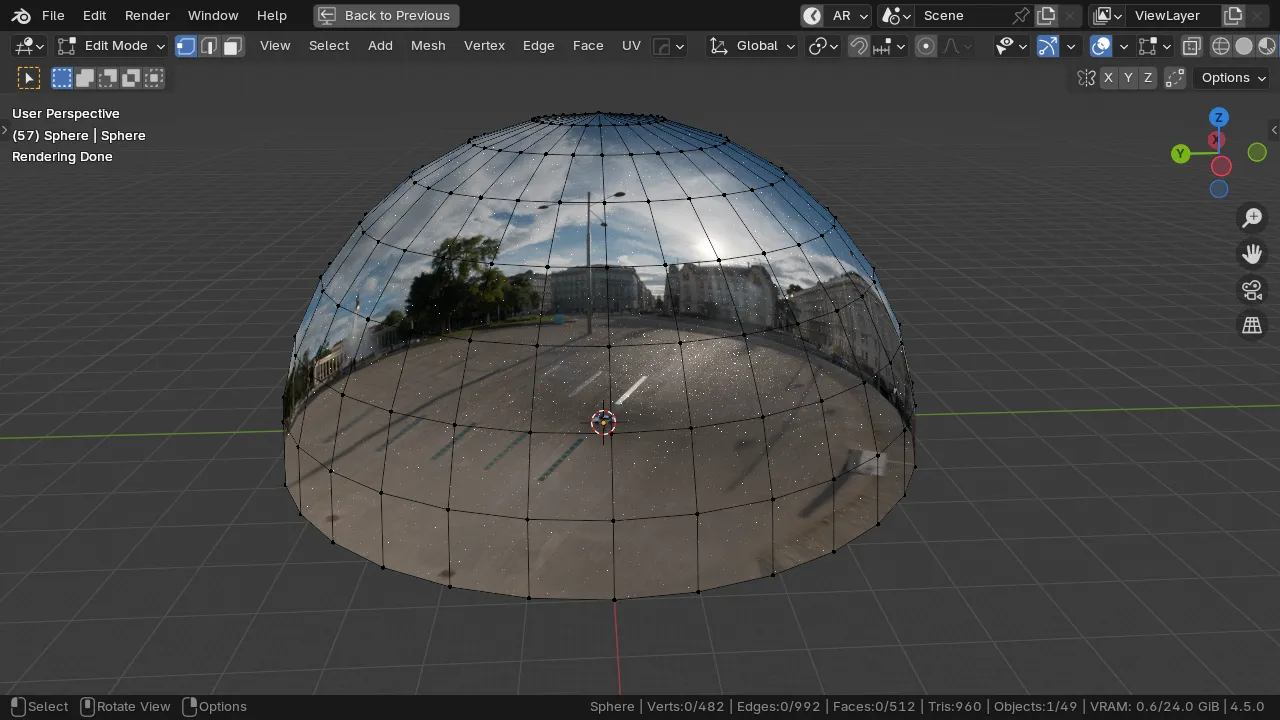
When searching for HDRI dome projection on YouTube, you’ll find many tutorials suggesting you create a mesh dome with an HDRI emission texture applied. The problem with this approach is that it doesn’t produce proper lighting. The result often looks like you’re using an 8-bit JPEG instead of a true 32-bit HDRI, which—when captured in full sunlight—should generate strong light and sharp shadows in the render preview of almost any realistic rendering engine.
HDRI applied to dome mesh
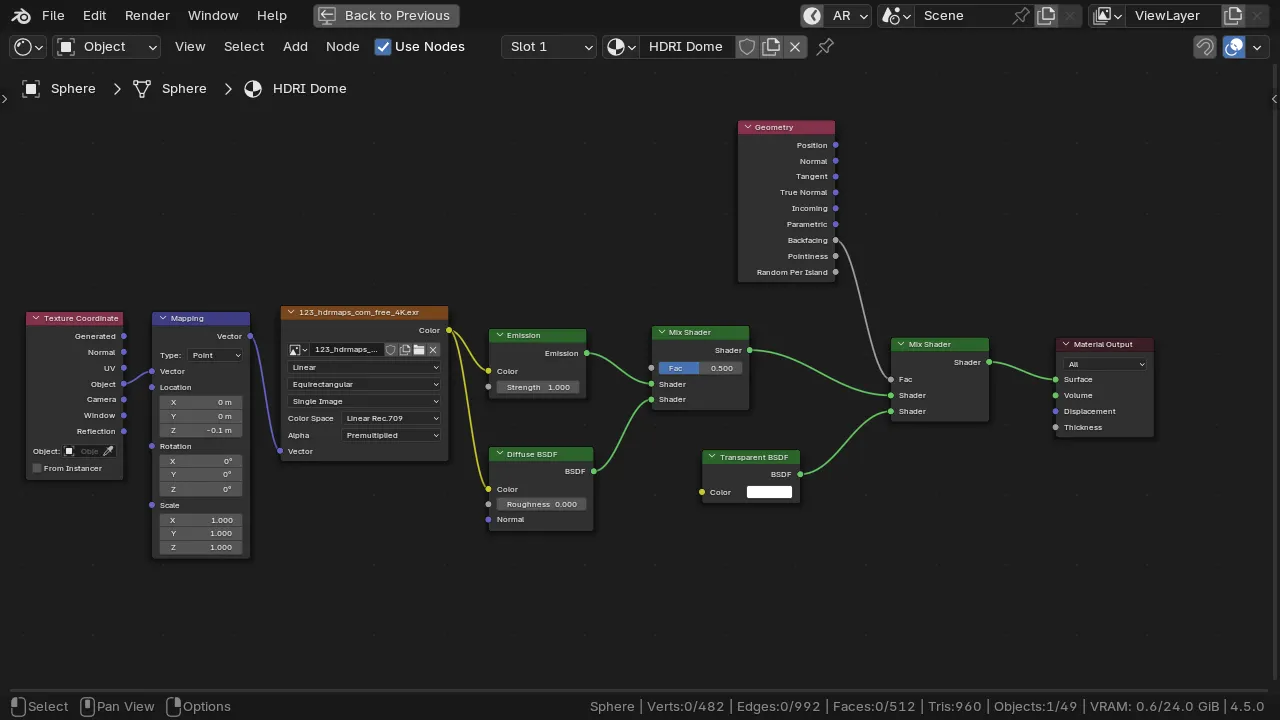
And here comes typical nodes setup for dome material:
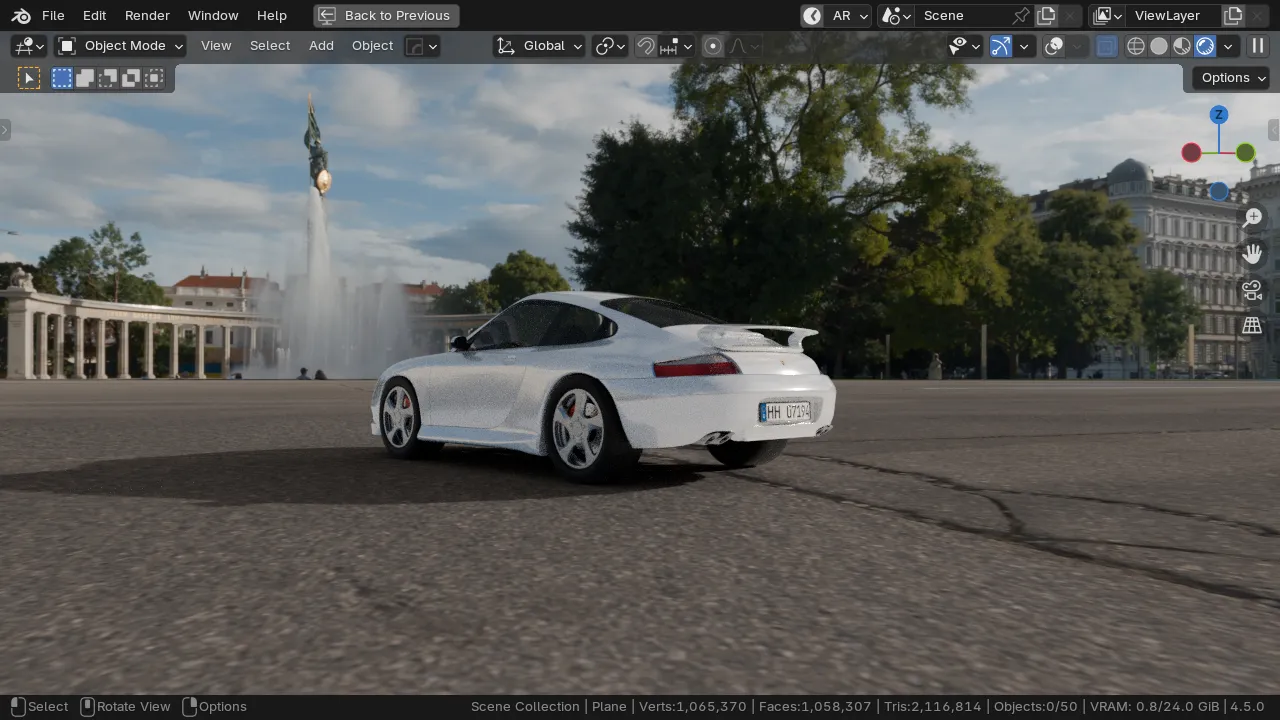
When you switch to render preview (Cycles enabled), you’ll find out that there is something wrong with the light:
I recommend avoiding this method. Instead, you can mimic the so-called dome projection using shader nodes only. Of course, there’s no need to recreate it from scratch—simply download the provided .blend file with the node group and import it into your shader tree.
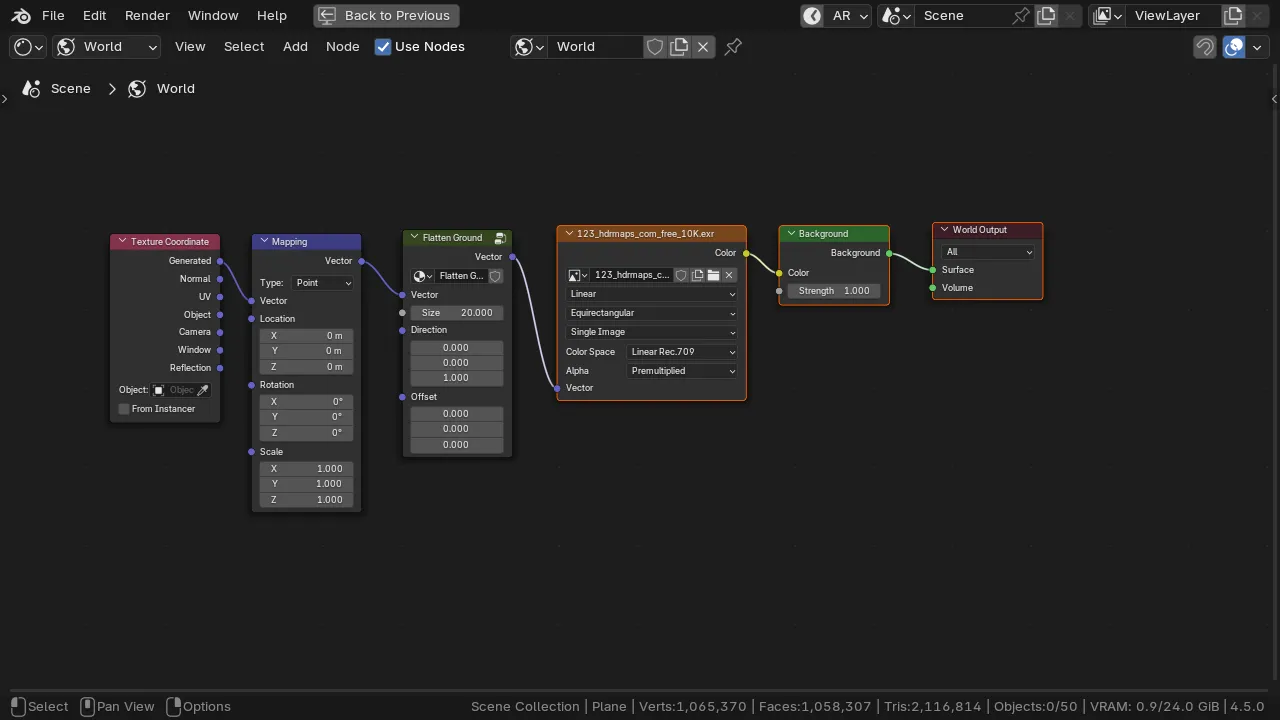
A better solution: HDRI Dome projection with nodes only
Download Flatten Ground Nodes Group
Once downloaded unzip it into your drive, and got File > Append, point to flatten_ground.blend file, and in Node Tree select Flatten Ground.
Next go to the Shader Editor, Shift + A and add Flatten Ground from Group submenu. Place it before Environment Texture (hdri) node, adjust Size value as desired.
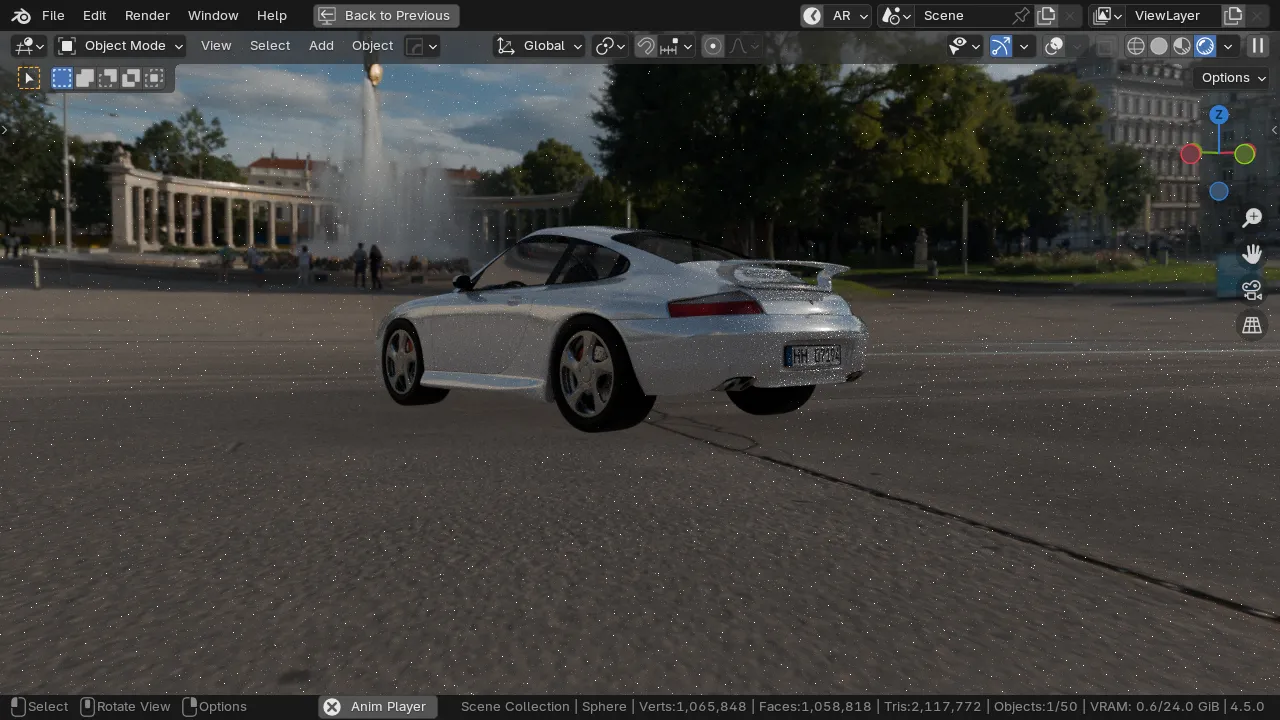
HDRI lighting is working now as expected – it is much stronger and produces realistic shadows, as you can see on the image below: