In this tutorial, you will learn how to set up hdri lighting in Cinema 4D for interiors and exterior scenes.
1. Beginning

Add a model to the scene or open your project where you want to add hdri lighting. To be sure that you can see any changes it is recommended to turn off any CG lighting before beginning. This tutorial is valid for any exterior and interior lighting.
2. Create HDRI material

Create a new material, double click on the material icon so Material Editor will pop-up. Give it a name for instance: HDRI Sky.
Uncheck Color and Reflectance in material properties and check Luminance only.
In Luminance window load 32 bit .hdr or .exr map. Under file input, you can see its properties: resolution, depth and colour space. Make sure that everything is a shown as on the picture.
3. Create Sky Object and apply a material
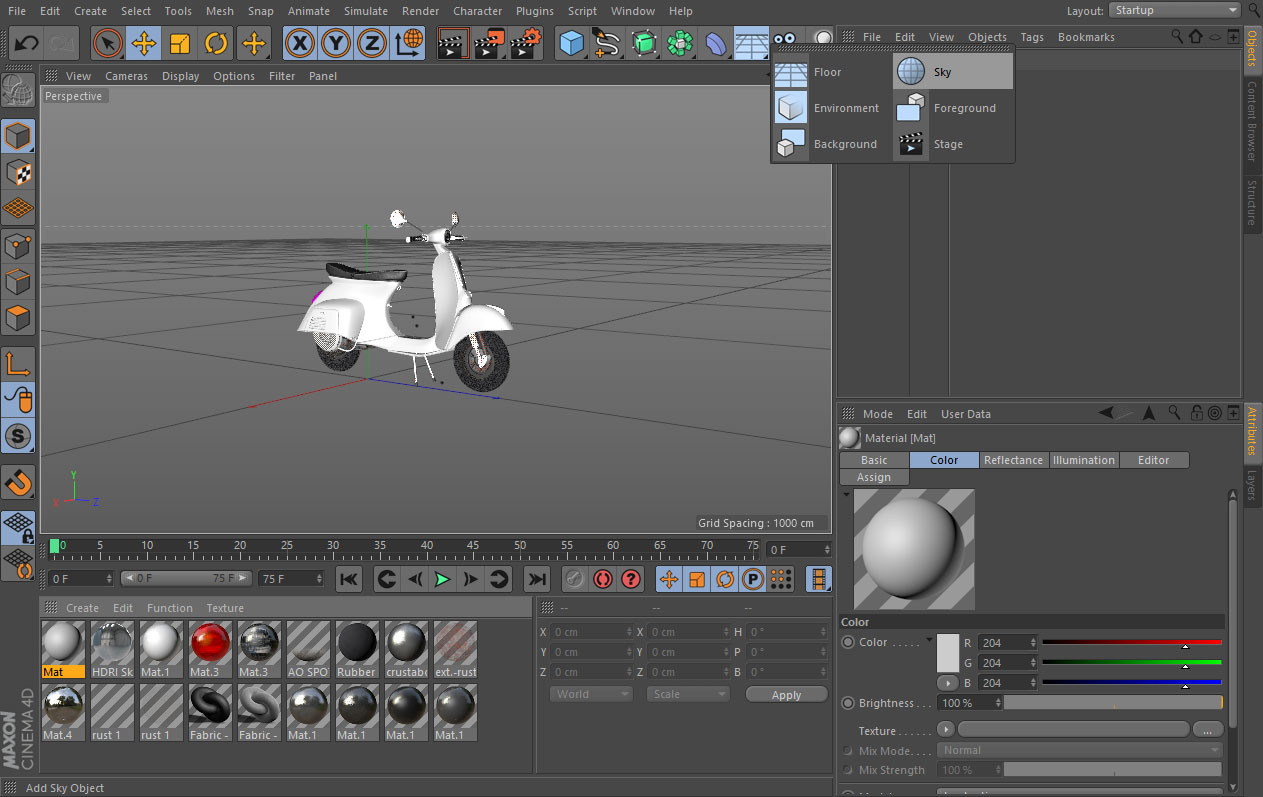
Add Sky Object to the scene. You can select it from the Floor menu – just click on the small arrow at lower right corner.
Apply HDRi Sky material to Sky Object by dragging and dropping it over the Sky icon.
4. Turn on Global Illumination

If you hit Render button you won’t see any results, because Global Illumination is not active by default in Cinema 4D. For this, you need to go to render setting (Render > Edit Render Settings) choose Effect and add Global Illumination. In the General tab, you can choose a Preset depending on your scene type or just leave it as Default.
5. Test render

If you hit Render View button you will see that hdri is lighting nicely your scene now, but unfortunately, there is no shadow under the model. To fix it you need to create a shadow catcher.
6. Shadow Catcher

Create Floor object just under the model and reposition it along with model so it fits the floor you can see at the hdri background. Next add Compositing Tag to floor (Tags > Cinema 4D Tags > Compositing). In Tag properties check Compositing Background and Compositing Background for HDR Maps. Fire a render now and you will see that there are very nice shadows under your model. To rotate hdri background select Sky Object and in Coordinates tab simply change rotation values.
7. Further configurations
To make hdri invisible add Compositing Tag to Sky Object and uncheck Seen By Camera. You can add another Sky Object with yet another map – I suggest adding a tone-mapped version of the hdri map and making it visible to Camera and Reflection, Refraction, Transparency only.